pretty packages-oh what fun!

hello everyone!
welcome back.....and the time has come.
the holiday season.
sigh....just like many i love this time of year for all the "pretty-ness" out there.  
i love the sparkle.  the glisten.  the colors.  the lights.  it seems there is just such an attention to detail and i love the magic of it all.
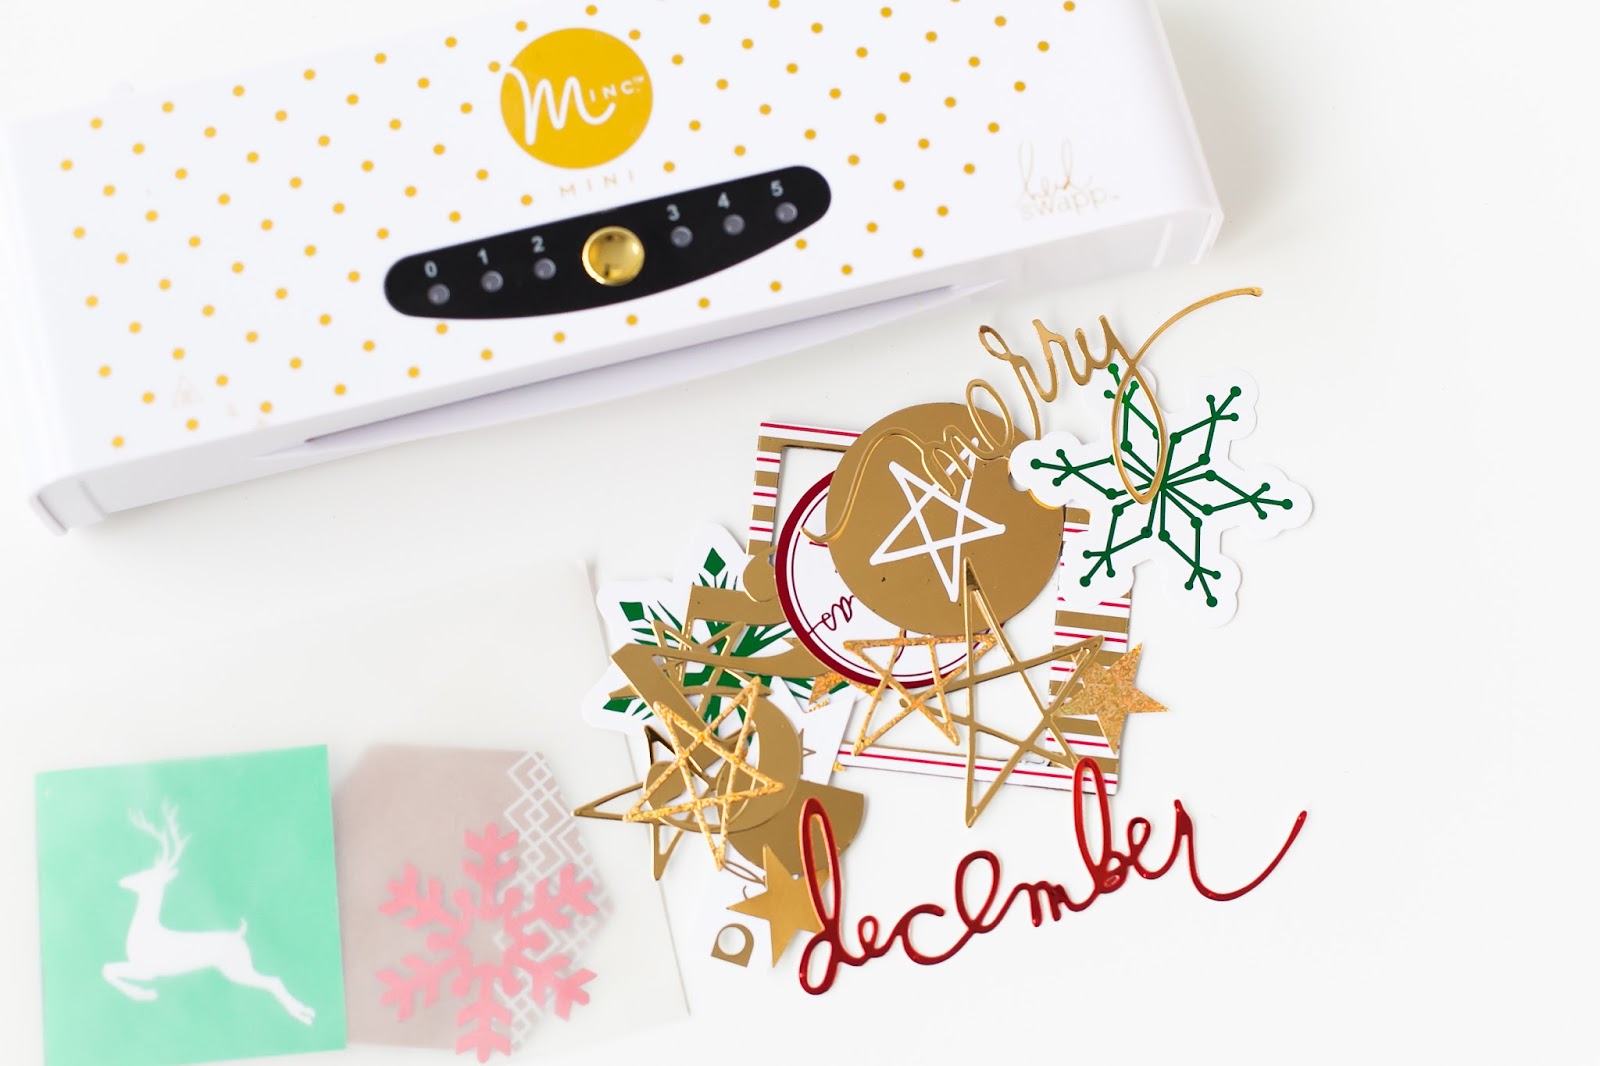
and speaking of that magic....say hello to some of the amazing heidi swapp 'oh what fun' collection that is now shipping and showing up in select joann stores.....i know...it's just beautiful!


so today, i am just wanting to share some eye candy.  some inspiration.  some pretty.
these amazing exclusive gift giving accessories are just the perfect touch to all of your holiday packaging needs this year.  i love that all you have to do is literally adhere a tag, tie a ribbon, adhere a sentiment....add a little ink.  boom!  it's done. and it just looks beautiful.


here i created some fabulous cookie gift boxes, embellished a gift box, added some pretty to a canvas draw string tote and a little custom screen to the cutest little stockings ever...which btw i think these stockings would be the CUTEST with a little gift card tucked in, don't you?


all of these amazing packaging goodies are exclusive to joann....so you will not find them anywhere else!  here....a little close up of all of my pretty little packages... 

these treat boxes are SO awesome.  the patterns are gorgeous....they come with detailing on the clear front and even come with coordinating gift tags.  you can leave them as is, or add a little extra (like i did).  regardless, they make giving treats an extra special wow factor touch!


i filled the boxes with delicious chocolate sugar cookies.  once my gift box was filled i simply added some tags and some extras from the other heidi swapp oh what fun kits.  the beautiful gold leaves, sweet tag and bow are from the gift wrap kit.  adorable right?  and again....love how it all works together!


the red and white gift box i just layered some tags and added a dimensional holly sticker. easy peasy!


this kraft gift box was given some festive love with components used from the heidi swapp oh what fun gift wrap kit.  it is filled with so many fun pieces....like poinsettias, gold leaves, garland, bows. it's perfect.  


  and last but not least....the adorable canvas draw string bags and stockings.  i used the amazing holiday art screens and red ink to add some customization to these pieces.  again....so fun to fill with treats, gift cards....whatever you are needing to add a little pretty to!


so be sure to head on over to joann stores to grab yourself some of these exclusive products to make your packages extra special and have some fun making pretty FESTIVE stuff!  you will love them!  happiest holidays to you all.

0

Minc Mini Christmas Album & Random Acts of Kindess

hello everyone! i am SO happy you are here.
today i am more in love with this post than ever.
i think it may have to do with a lot of things.  like the heidi swapp minc machine.  the holidays coming up.  the fact that it is national kindness day on friday....and the whole ideas of RAOK ("random acts of kindness") just make me smile.  it gives me hope.
AND that today i can involve you all in my project and bless someone with it!  my own little "ROAK" for you!
here...let me explain!


i created this handmade coil bound journal using some of my favourite MINC pieces from the Heidi Swapp MINC Holiday collection.  i found 2 pieces of chipboard, covered them with music note paper that i ran through the minc with red foil...and then started pulling together some of the beautiful ephemera minc holiday pieces and got to work.


i even added a fun acrylic cover to the front that is clear...that is where i added the gorgeous red minc bow, the die cut 'believe' out of minc toner paper that i used the gorgeous gold glitter foil on...as well as some snowflakes minc'ed in mint.


of course i could not stop there.  i created an envelope FULL of coordinating goodies that will be perfect for embellishing this album!  there are die cuts, minc pieces already foiled....some gorgeous extras....


how fun are these right?  seriously some of my absolute FAVOURITES are tucked inside this little vellum envelope!

now, onto the album!


i created the inside of this album using a variety of gorgeous pieces.  i added kraft card stock, envelopes, minc 6x6 papers....even cards!  there are so many fun pages and pockets just waiting to be filled with photos, memories and more!


i loved using this gorgeous gold polka dot card from the heidi swapp card set that is available at select joann stores.  it is perfect not only as a page...but makes a great addition to a mini album as well!  plus...those gold foil polka dots win me over everytime!


i also had so much fun adding in some of the christmas MINC 6x6 holiday papers.  they are customized with either red, mint or gold foil.  each one is different and i love them all.


i created this fun envelope using my envelope punch board from we r memory keepers and used paper from the heidi swapp oh what fun 12x12 paper pad.  i embellished with a gold foil snowflake.  the perfect spot for adding in photos or memorabilia from this upcoming holiday season!


this super cute envelope i added, which is also from joann....i simply trimmed it down to fit into my book.  so easy and perfect! a multi functional page!


this envelope is also brand new to the minc holiday collection.  it comes with foil inserts so you get a beautiful surprise when you open the envelope.  the foil detailing inside is just gorgeous!


i also could not resist adding yet another envelope from the heidi swapp card kits that are all available at select joann stores.  seriously....they are SO gorgeous and are the perfect touch into mini albums.


i used the we r memory keepers heidi swapp cinch machine to compile my album together quickly and easily with a white coil binding.


NOW!  this is where YOU come in...as well as my ROAK "random act of kindness" for this wonderful event!  i would LOVE to bless someone with this album....and ALL those delicious extras that i created in that vellum envelope!  i want to give this album away to one lucky person.  i want to make it easy for you to document your holiday memories this year, and enjoy a little handmade prezzie just from me!  to enter, please leave a comment here or head on over to my instagram feed @lbateman9442 and leave a comment telling me one way you love to show kindness.  it is time to spread the love!


 i cannot wait to give this little album away to one lucky person!  i will choose a winner on friday november 13th!  good luck everyone!


4

Multi Patterned Marquee

Hello everyone! I am SO excited to share with you all today a really fun and simple way to customize some of the Heidi Swapp Christmas Marquee Love that is now showing up on the shelves of select Joann Stores, as well as both Independent and Online Shops! If you have seen the Marquee Love then you know it comes plain white.  And really, that is the FUN of it all.  You can pretty much customize it to whatever color, design, idea that you may have! The options are endless with these gorgeous pieces.


So today what I want to share is how I took this one Marquee Love piece, the Christmas Tree trio and transformed it to look like 3 different styles of trees.  How you may ask?  Well....let me show you!


To begin, I grabbed my Marquee Love Christmas Trees and the Heidi Swapp Oh What Fun 12x12 Paper Pad.


Next as you will see, when you flip over your plastic Marquee piece that these Marquee are different than the cardboard ones as they have the bulbs set in place with these little white plastic pieces.  These pieces are screwed into the plastic bulbs, so to remove you simply have to turn and loosen.   You will also notice the two little holes in the back of these white pieces.  These are where the lights from the light strand will secure into.  


How you ask? Not to worry....I included a video demonstration below to show you just how easy it really all is!


But before the video, I will show you how I began.  So once I removed all of the light bulbs and backings from my Marquee, I removed the white glitter template backing that the Marquee comes with.  You can always leave your Marquee "as is" with this beautiful glittered backing as well.  However, today I am wanting to show you how easy it is to "mix it up" and add gorgeous patterned paper to your Marquee instead.


To create a NEW template so that I can add some pattern paper into my Marquee I simply trimmed the template to separate the 3 trees from each other.  I found the connecting edge and used my scissors to cut apart.


Voila!  3 separate trees. Easy, peasy!


Once I had my tree templates, then I simply chose 3 different patterned papers from the Oh What Fun paper pad and traced the template onto the back of the pattern paper.  I simply do this so my tracing marks do not show onto the front of the pattern paper.


Now...the assembly of these beautiful pieces is much better described in video.  So have a watch to see how we make it all come together!


And now, once your Marquee is complete you can have fun incorporating them into your home holiday decor!  How cute are they?


You can see that on the inside of my Marquee I went one step further and added in some gorgeous vintage Marquee Love music note washi tape.


Now here is a photo of the Marquee with the bulbs lit.  I am so in love!  


I hope this super simple and easy tutorial inspires you to create some custom Heidi Swapp Holiday/Christmas Marquee for your home this holiday season.  I know you will LOVE them!

Supplies: Heidi Swapp Christmas Tree Marquee Love; Oh What Fun 12x12 Paper Pad; Marquee Love Music Note Washi Tape


1
Back to Top