
adding photos into my memory planner is always an absolute MUST.
however, at the same time i am always looking for fresh, fun and neat ways to do so. it's nice to have the options to switch things up when i can.
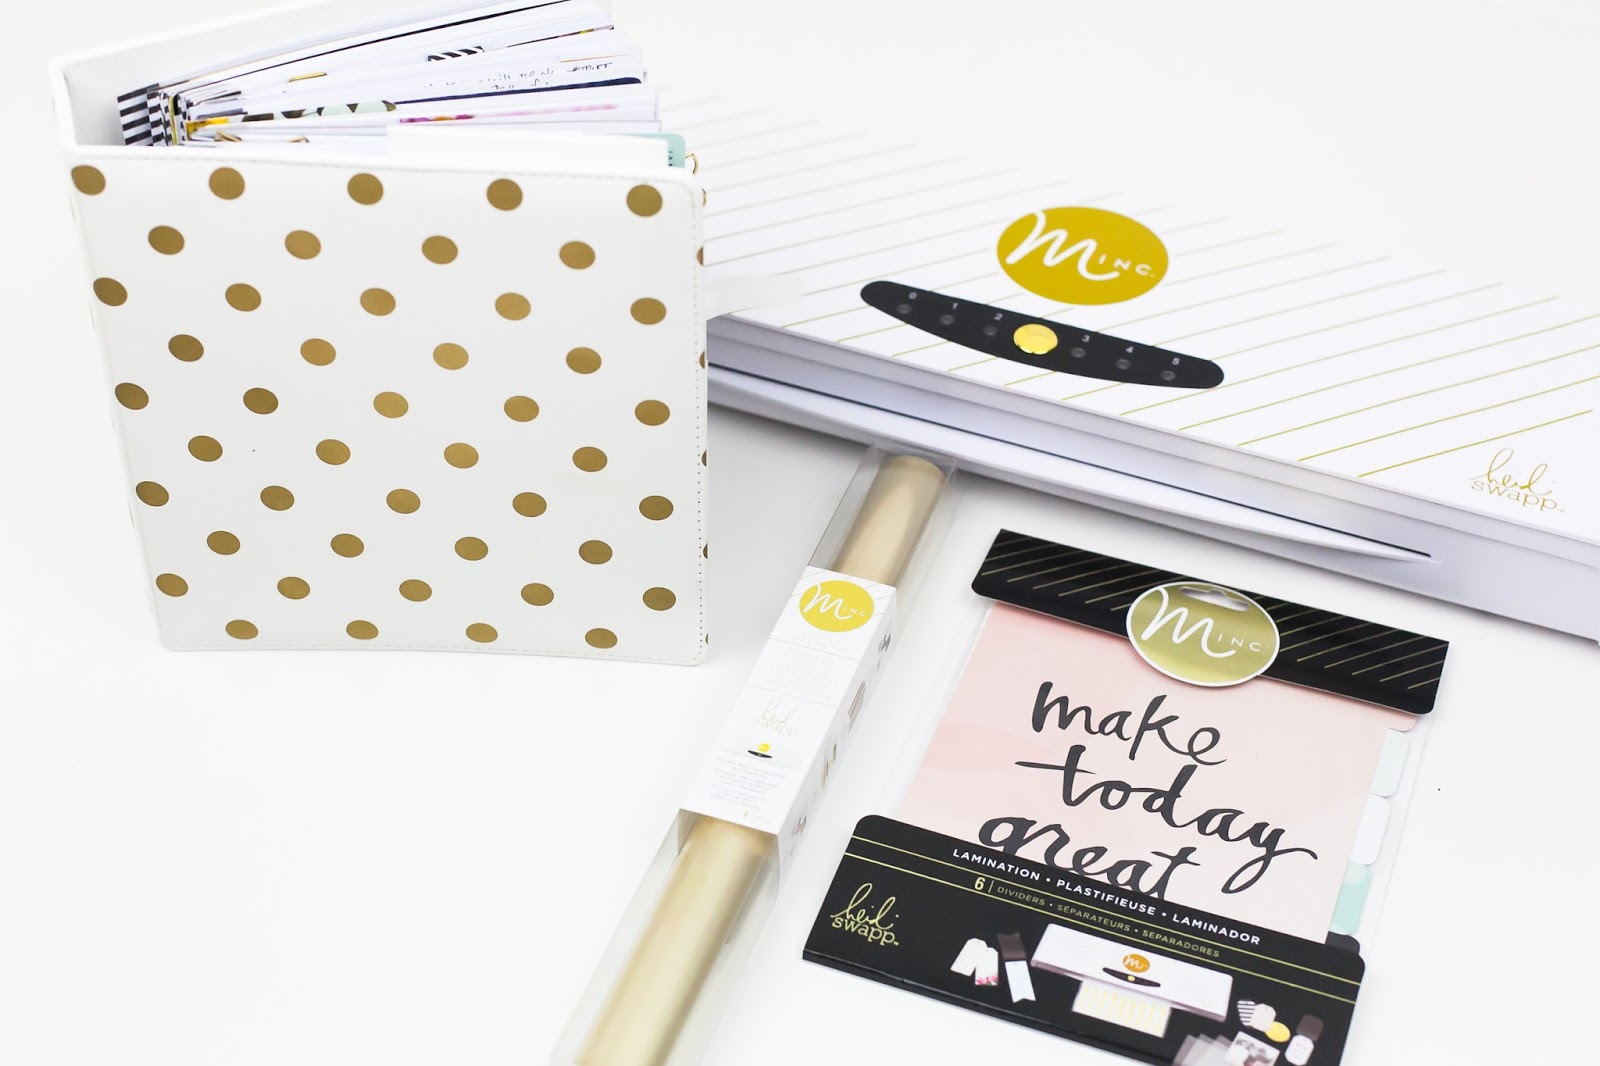
today on the heidi swapp blog i am sharing a basic step out tutorial showcasing just how easy it is to create a laminated photo divider for your planner.
yes! a photo divider! and yes! it's laminated! how cool, right?!?
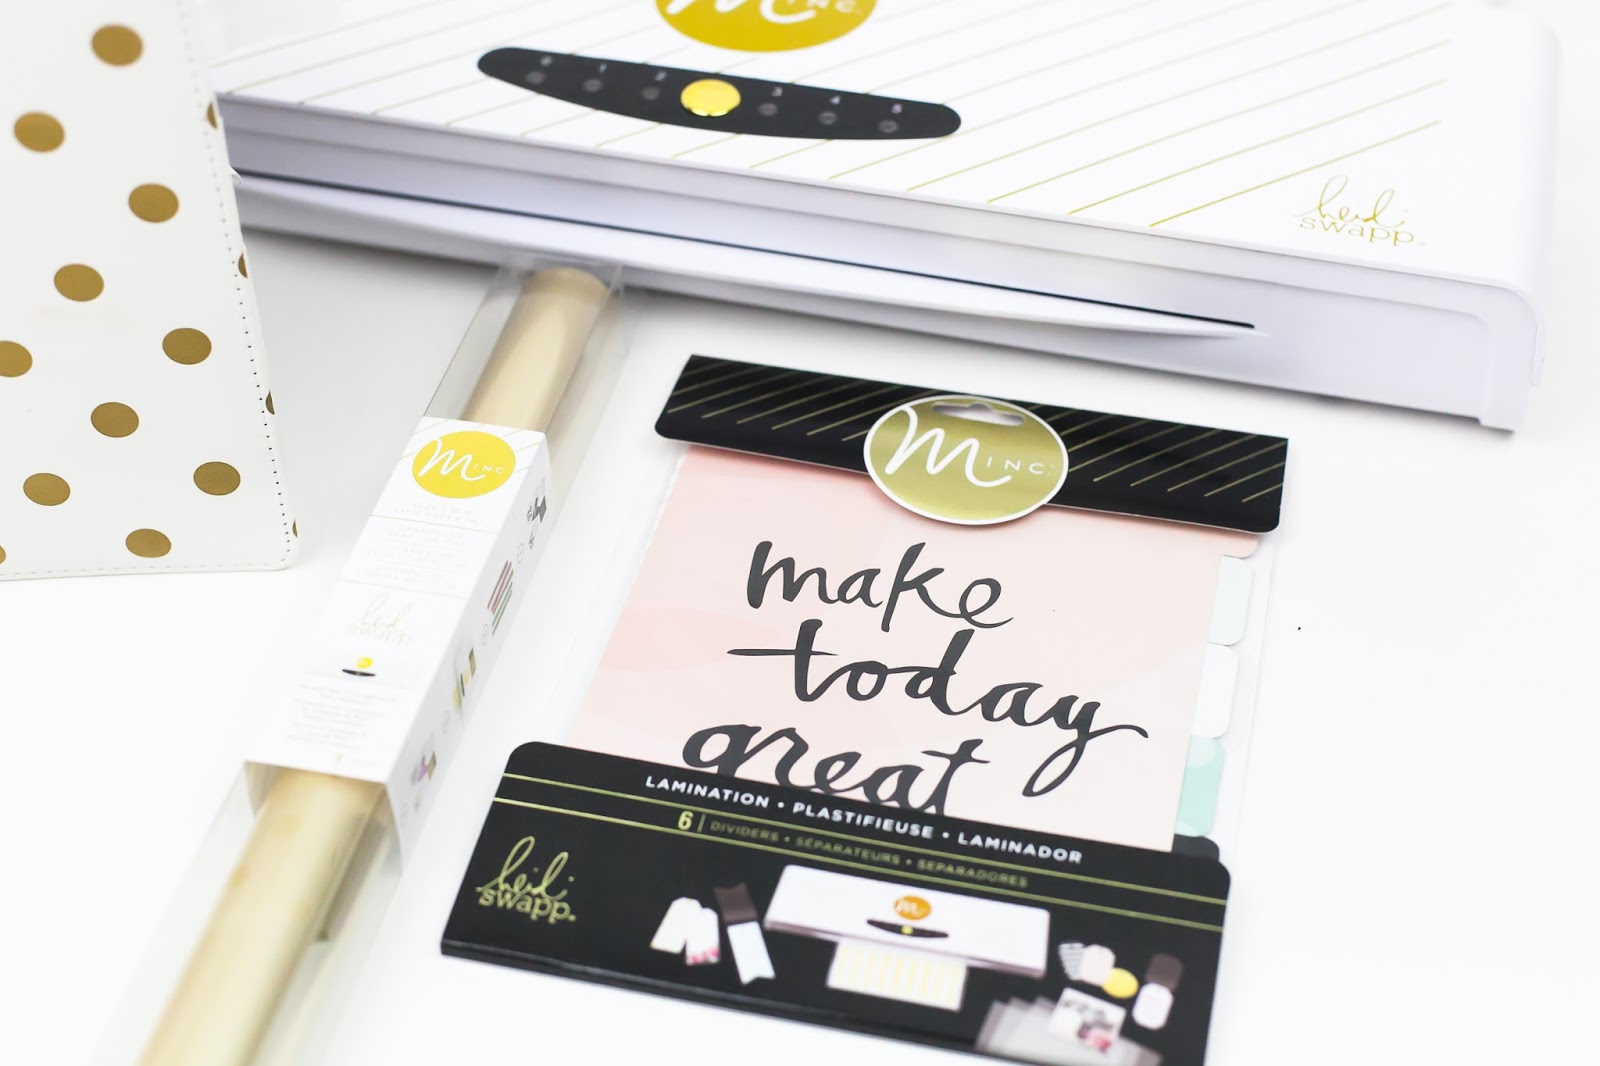
these lamination folders are brand new to the MINC family. they are perfect for incorporating into your memory planner. you can foil them, laminate them....and then hole punch them and add them into your planner so easily.
for my tutorial i am showcasing how i am able to add 12 2x2 photos onto the back of the divider to create a gorgeous dual purpose "photo" divider.
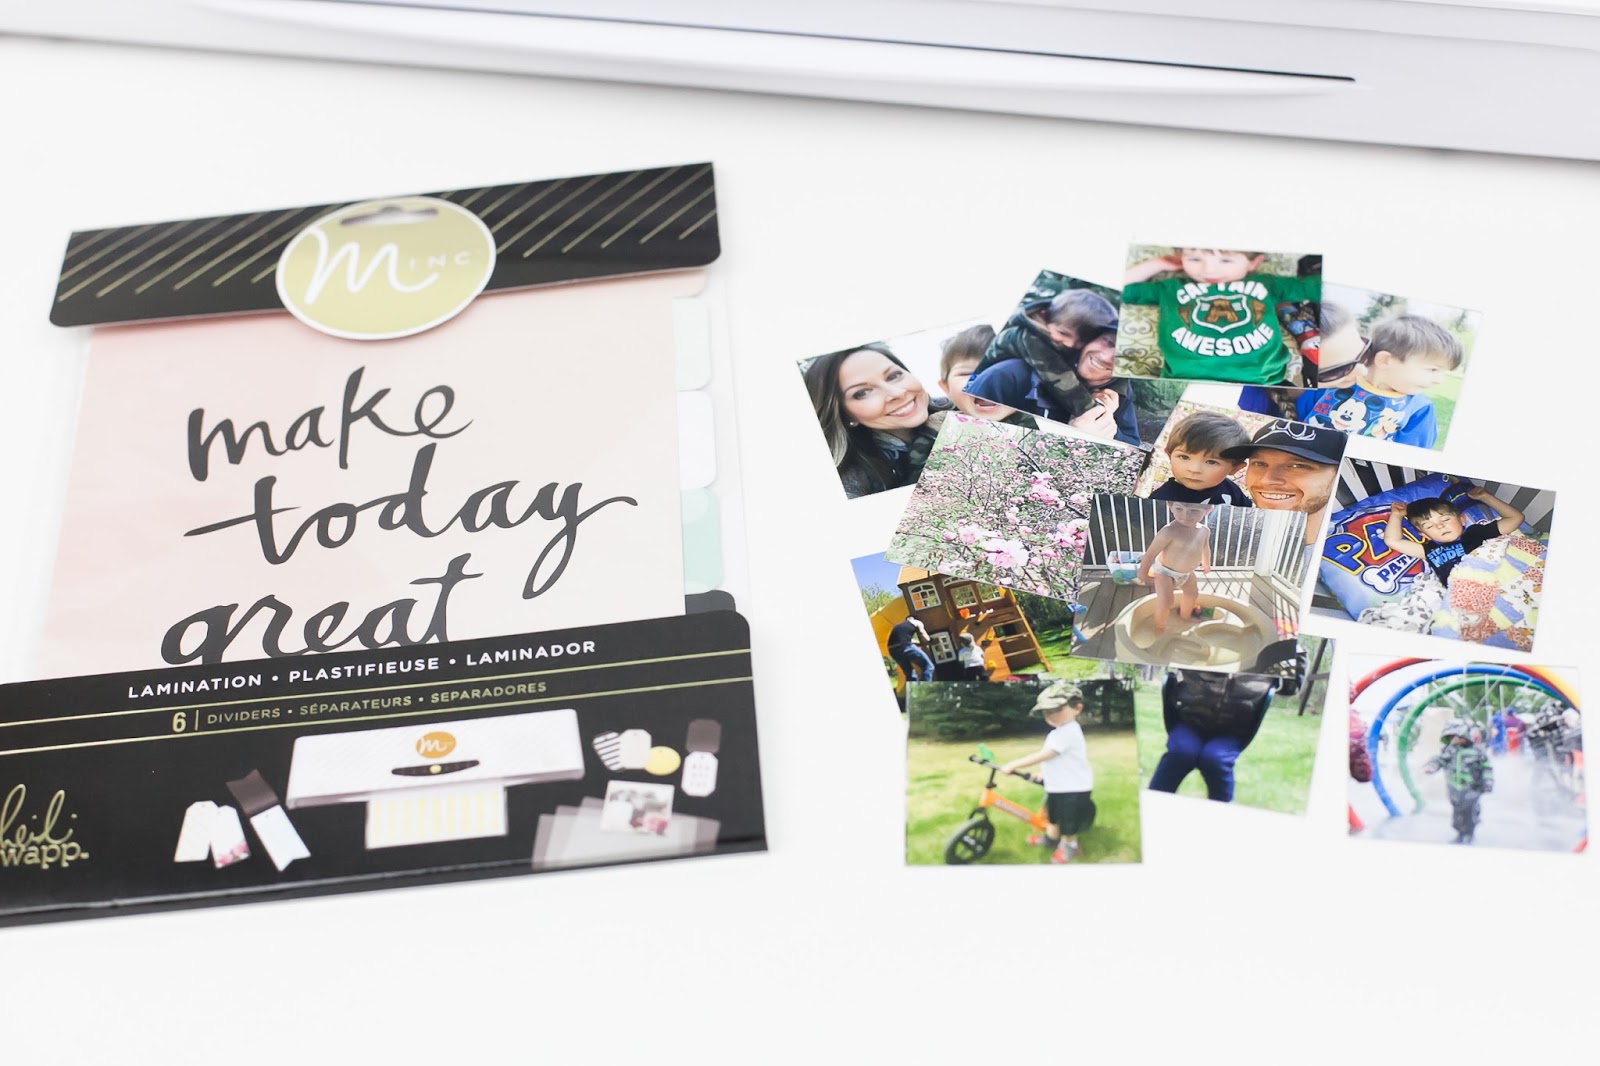
what begins as this...

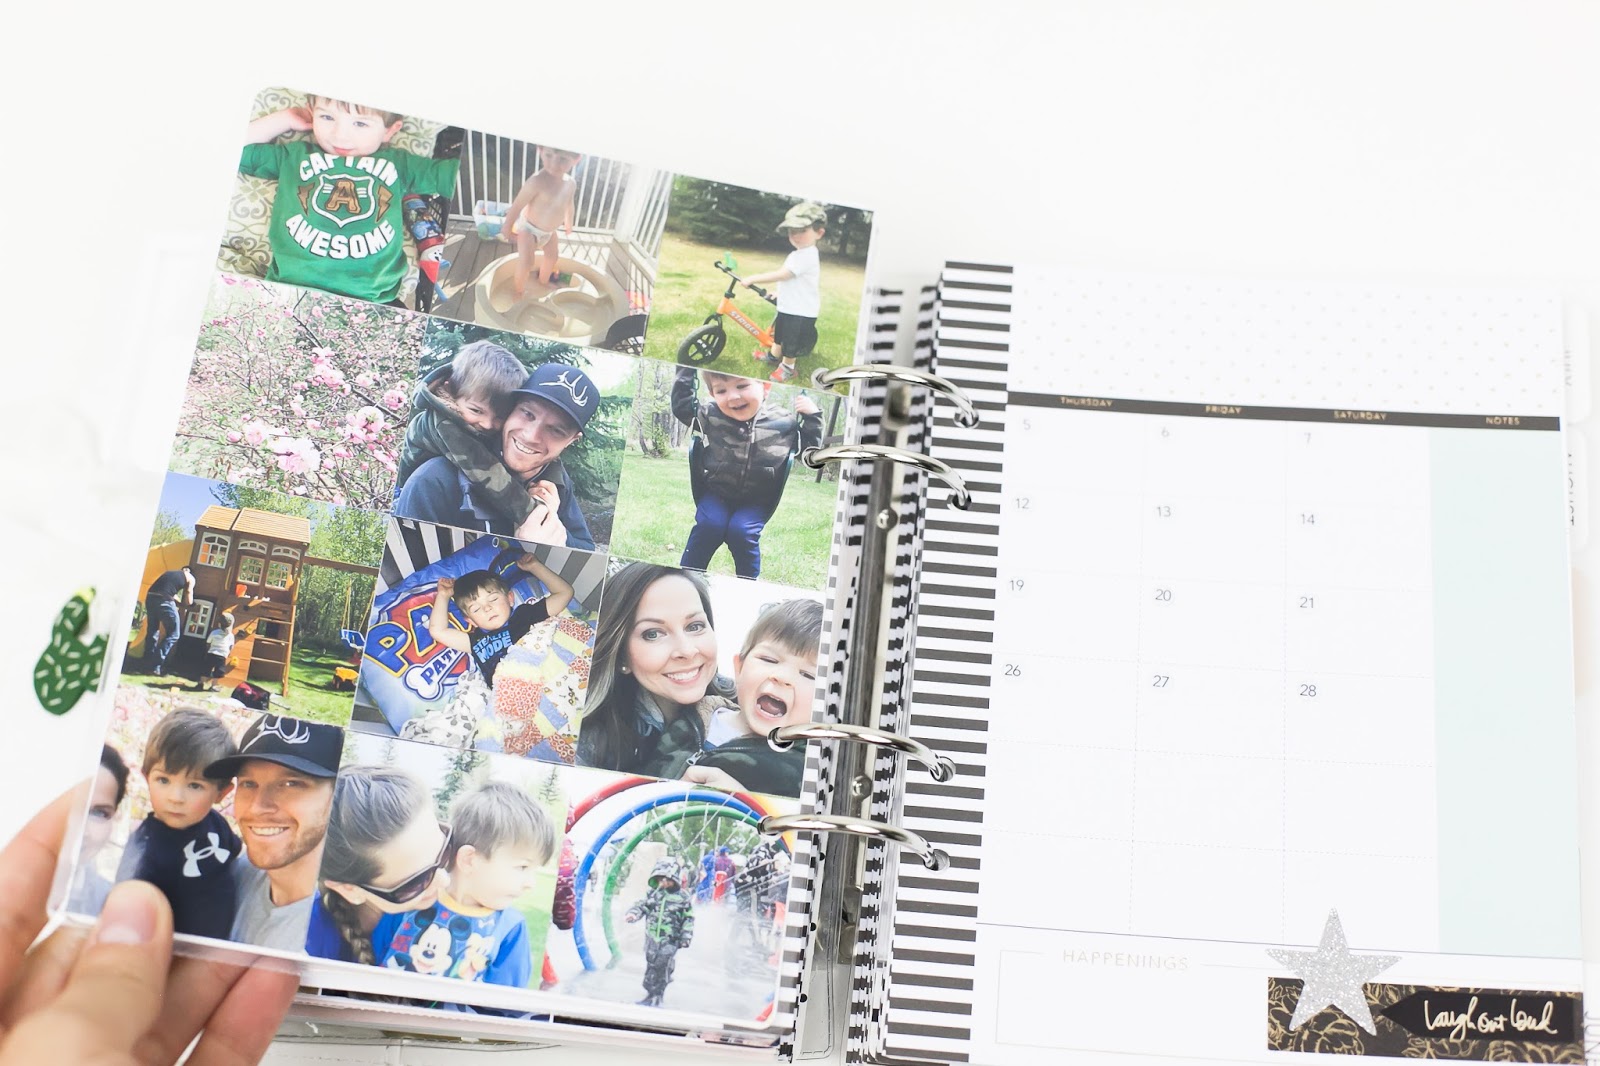
turns into that!
a gorgeous photo collage that is laminated for extra protection and durability. plus...look at all of those memories!
so be sure to stop by heidi swapp's blog today to see just how easy it is. i hope you create one for your own memory planner. your memories and photographs will love it!


I really like it the most. You have really done great job by sharing the beautiful post. Thanks lot for the informative post. Learn more about Photography Folders
ReplyDeleteYou have really done great job by sharing the beautiful post. Thanks lot for the informative post. Learn more about beautiful christmas photo folders 2021
ReplyDelete